
Ingredients
Method
- Culture the cream. I like to pour two or three tablespoons of live and active buttermilk directly into the glass quart of cream and stir it well. If your cream is in anything other than a glass jar, transfer it to a glass container, jar or bowl, and stir in your live and active culture starter, be it buttermilk or yogurt or sour cream. Let it sit out at room temperature for 24 to 48 hours at 65°F to 75°F (Refer to section the section "A Live and active culture" in the post to be sure you’ve got the right stuff. And while you’re at it, read the section "As for le crème" to be sure you’ve got the right cream.)
- The cream is ready when it is noticeably thicker and has a pleasant, tangy aroma, much like a sour cream or a yogurt. If anything smells foul or offensive, something has gone wrong, throw it out! (Though this has never happened to me.)
- Place the cultured cream into the refrigerator until it is well chilled. You’ll need it cold for it to churn properly; anywhere from 50°F to 65°F being ideal, 60°F being perfect! (It can be left in there for a day or so if you don’t have time to make the butter right away.)
- When you’re ready to churn, “pour” the cream (it likely won’t pour, you’ll have to coax it out with the spatula I mentioned earlier) into the bowl of your mixer. Start on medium low speed and gradually increase as it whips to avoid making a mess. The cream will become whipped cream, then overly whipped and then progressively more grainy. Finally, and all of a sudden, it will begin to turn yellow as the fats bind together and the buttermilk separates from it. Immediately lower your speed to avoid sloshing and splashing when you see this begin to happen. Allow the mixer to churn until the butter is nearly one large clump spinning around in the buttermilk. Have paper towels, a sieve and a square of parchment paper handy.
- Coax all the butter off the whisk or paddle or beaters back into its mixing bowl. Pour the buttermilk off (through the sieve) into a jar. Congratulation, you are the proud owner of your own homemade cultured buttermilk!
- Give the butter a rinse with cold tap water. Rinse and pour off the murky water until it’s looking fairly clear.
- Add enough water to the bowl to cover the butter and add a few ice cubes to keep the water cool as you work. Massage the butter in the water to work out the last of the buttermilk. It’s important to have as little buttermilk left in the butter as possible so that it does not sour on you later on.
- Finally remove the butterball from the water and massage it like a dough, working all the tiny water droplets out of the mass. Your goal is to end up with a pure butterball of fat, no liquid. Dabbing it with a paper towel or pressing the butterball down onto on a paper towel laid on the countertop is helpful. You do need to work somewhat quickly before the butter begins to melt due to the warmth of your hands and/or ambient temperature.
- Add salt if desired, ½ to one teaspoon per pound of butter is what I like. Work it in until it’s evenly distributed.
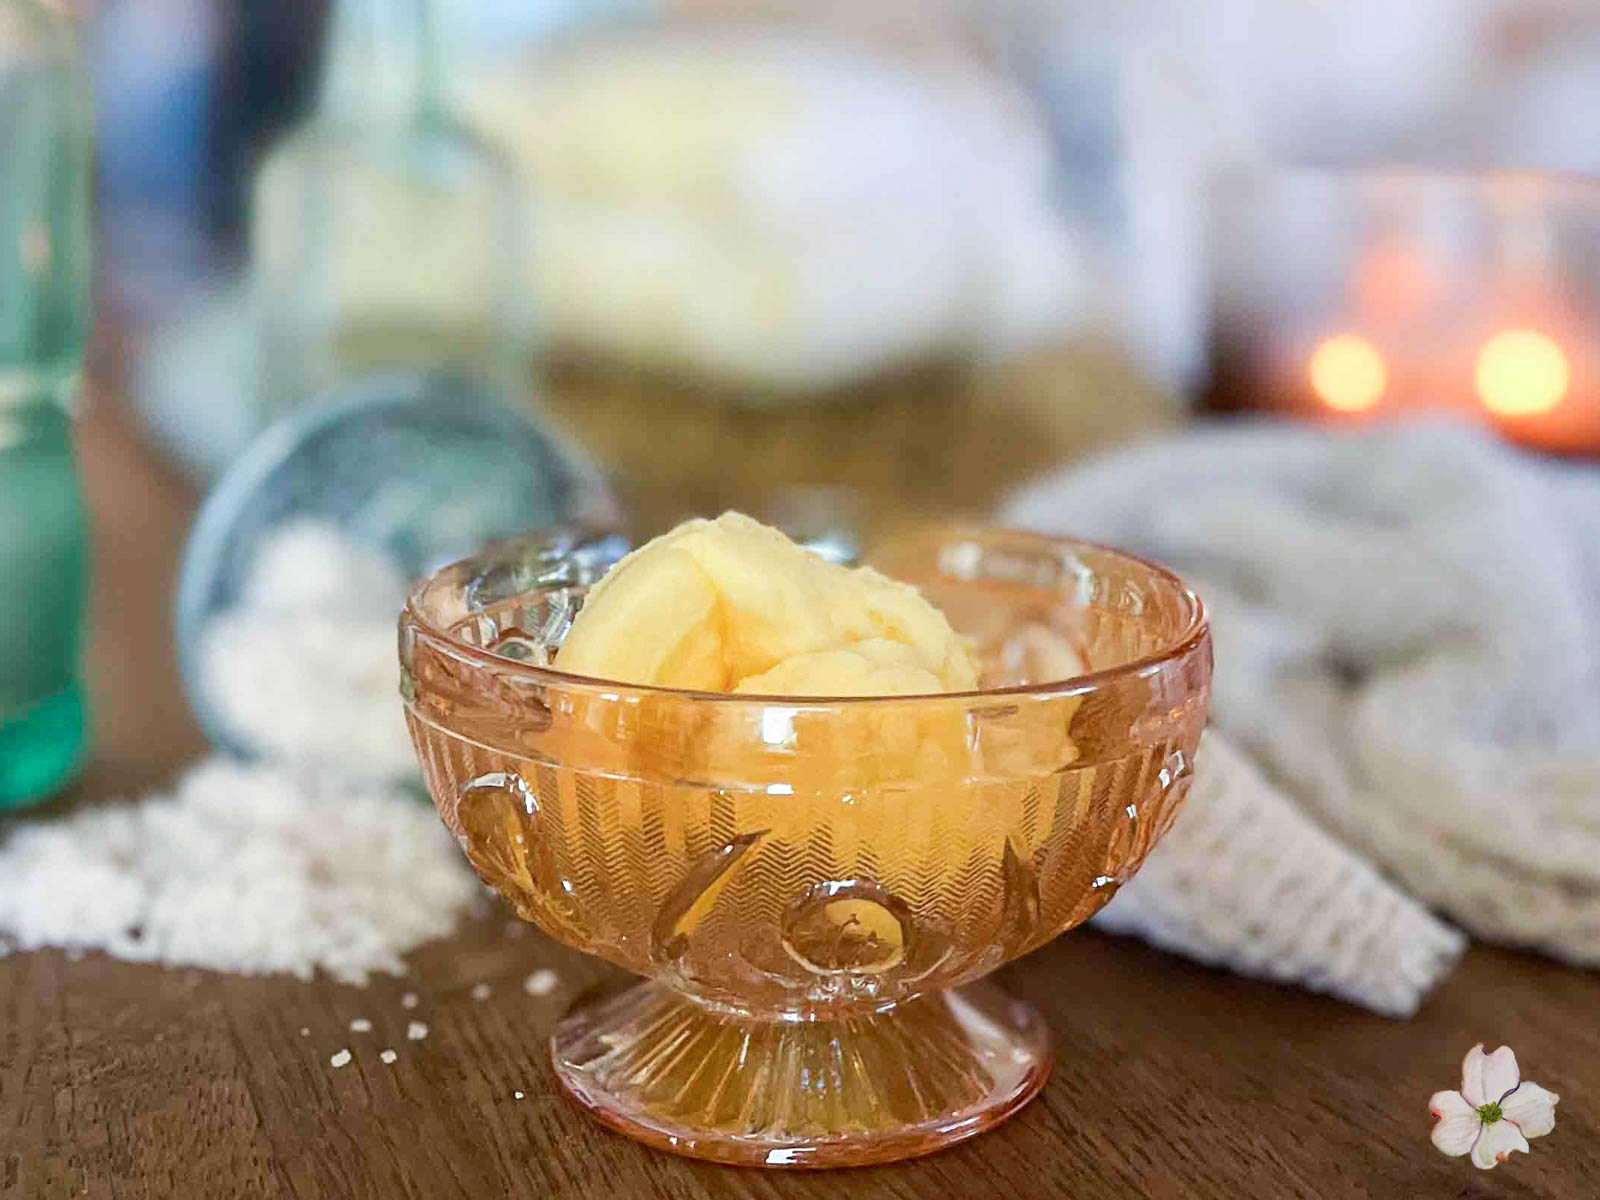
- When the butter is as clean and dry as you can manage, ball it up and drop it onto a square of parchment paper. Shape it into a block as best you can and wrap it up. I have become more proficient and graceful at this task with practice, but I am convinced it’s just a messy job and there’s not much you can do about it! The name “butterfingers” came to be for a reason!
- You can use your beautifully cultured butter starting immediately or you can refrigerate it and use it little by little for quite some time, at least two weeks. You can freeze it almost indefinitely. If you go through butter slowly, it may be a good idea to wrap two separate blocks, one for now and one for the freezer.
Notes
A typical heavy whipping cream is going to be around 36% to 38% fat and likely yield just shy of a pound, maybe 14 ounces. That’s still almost four sticks of butter, so you could still easily divide it into portions that suit you and your cooking plans.