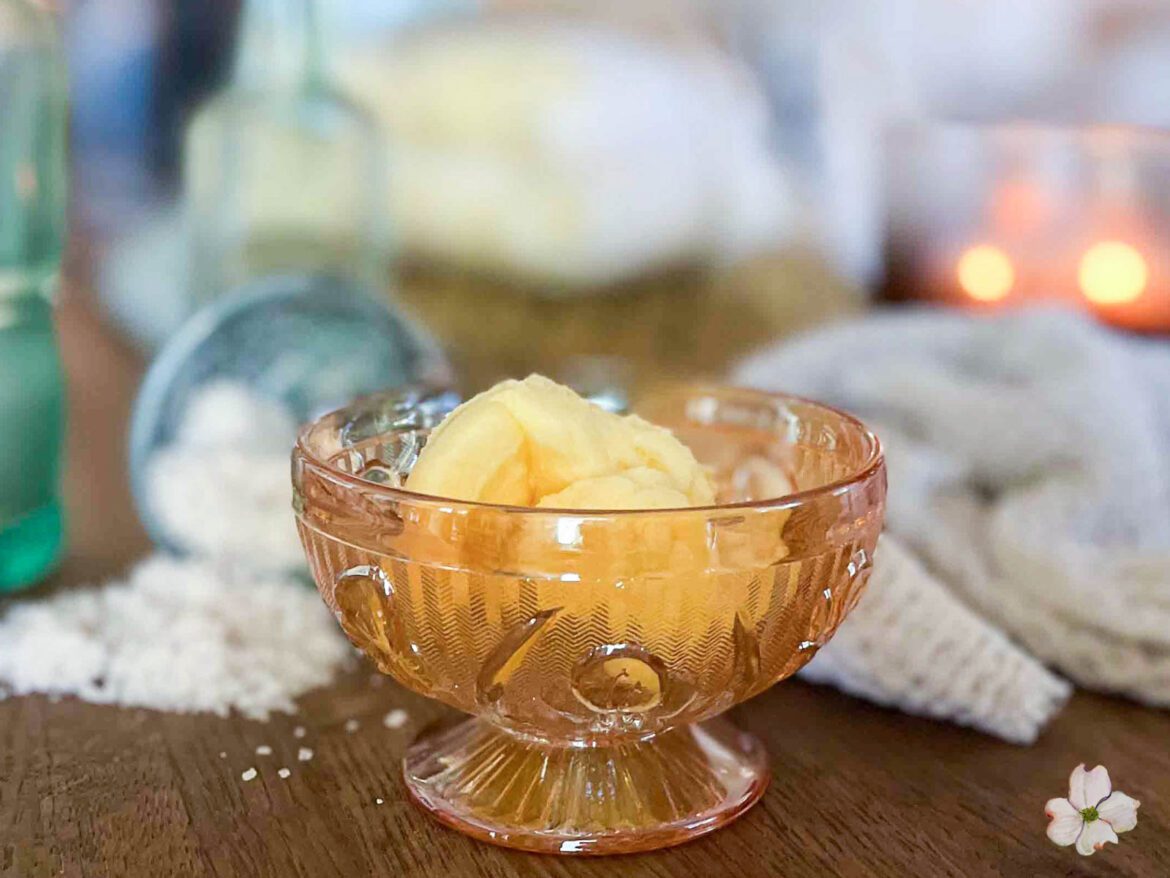
what is cultured butter?
Cultured butter is high class, old money, socially relevant. It rubs bows with the likes of flake salt and French bread.
Cultured butter is, well, it’s cultured.
It’s the result of a top-quality cream (preferably raw or gently pasteurized and non-homogenized) that has been inoculated with live and active strains of beneficial, lactic acid producing bacteria and churned into butter. It’s healthier and yields a deeper, richer flavor. And it’s pretty much life changing on a piece of warm, sourdough bread.
why we make our own cultured butter at home
We have milk cows! That’s the short story.
We have three mama cows in milk currently, and they’re producing far more than we or the families we supply can drink. (We are also feeding bottle calves with the excess and skim, as well as calf sharing, more on that here.)
Since we have an abundance of milk, and since we won’t have this [good] problem for long, (we’ll dry them off soon), we are conscientious to glean every bit of cream possible and store it in a way that can be used later… butter! Butter freezes perfectly, unlike the cream itself.
So, if I’m going to make butter, and I have live and active buttermilk on hand, why not make better butter? It adds one more step to the process, yes, but it’s not hard. It’s just something to be mindful of.
The only extra effort required is remembering to take the cream out of the fridge at some point in the afternoon, stir in some buttermilk, let it sit out overnight, put it back in the fridge in the morning and then make butter later on just like normal. That easy. And I have realized that if I’m going to pull out the mixer and dirty the dishes, it makes more sense to go ahead and do two or three quarts of cream at a time. It’s going in the freezer anyway, so it’s more efficient to do batches.
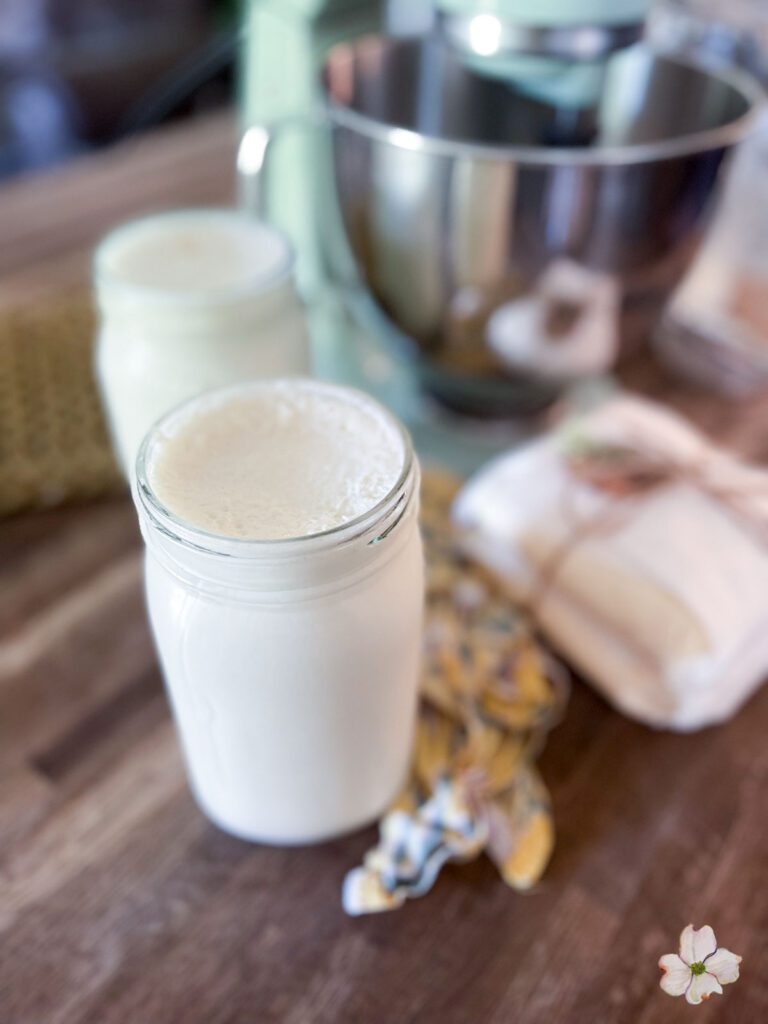
A Live and active culture
People culture their cream with yogurt, sour cream, crème fraîche or buttermilk. The point is to inoculate the cream, so the culture you use must be alive and active. Just like with sourdough bread, the culture (or starter) will proliferate in the cream, bread, whatever, and convert the entirety of it into more of itself.
Is it any wonder Jesus used this phenomenon to illustrate His point:
“He told them still another parable:
Matthew 13:33
‘The kingdom of heaven is like leaven, which a woman took and worked into three measures of flour until all of it was leavened.’ ”
Here’s a catch though, most, perhaps all, of the buttermilk and sour cream you’ll find in a typical grocery here in the U.S. no longer has live and active cultures present (unless explicitly labeled to contain “live and active cultures”). These products are cultured and fermented initially, but for the sake of stability, shelf life and texture, they are pasteurized again, killing those effective enzymes. Yogurt is easier to find labeled with “live and active cultures.”
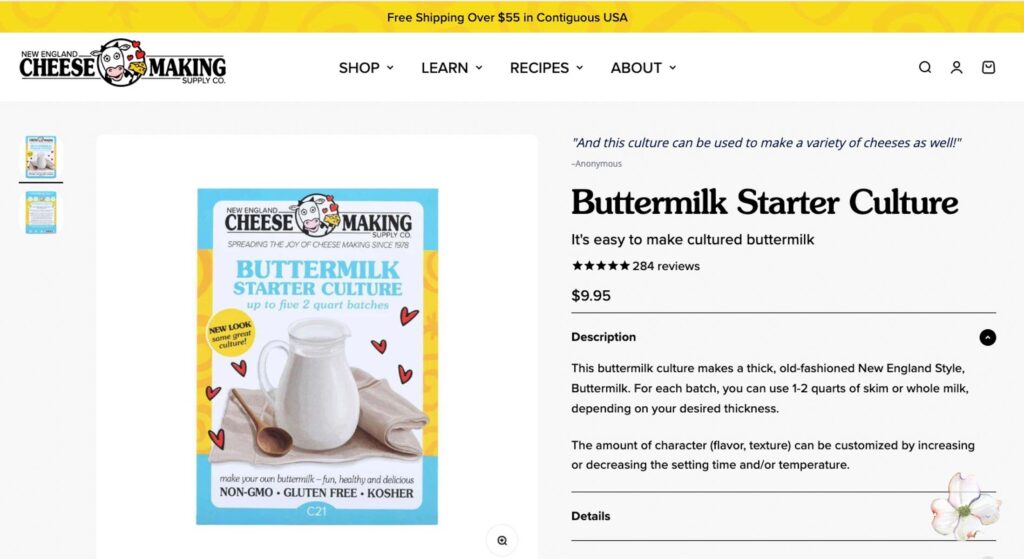
I personally use buttermilk which I started myself by purchasing a buttermilk starter culture from New England Cheese Making Supply Co. (They sell all sorts of cultures, really anything you can think of for dairy products. I use their yogurt cultures to start my own never-ending-yogurt batch as well.) I started a batch of buttermilk by putting a bit of dehydrated buttermilk culture into a glass of milk and allowing it to proliferate on the counter overnight. Literally that easy. And as long as I “feed” it fresh milk now and then, it’s the gift that keeps on giving. Just a few tablespoons of said buttermilk, stirred into my raw cream and left to ferment overnight, gives me beautifully cultured cream which can then become beautifully cultured butter.
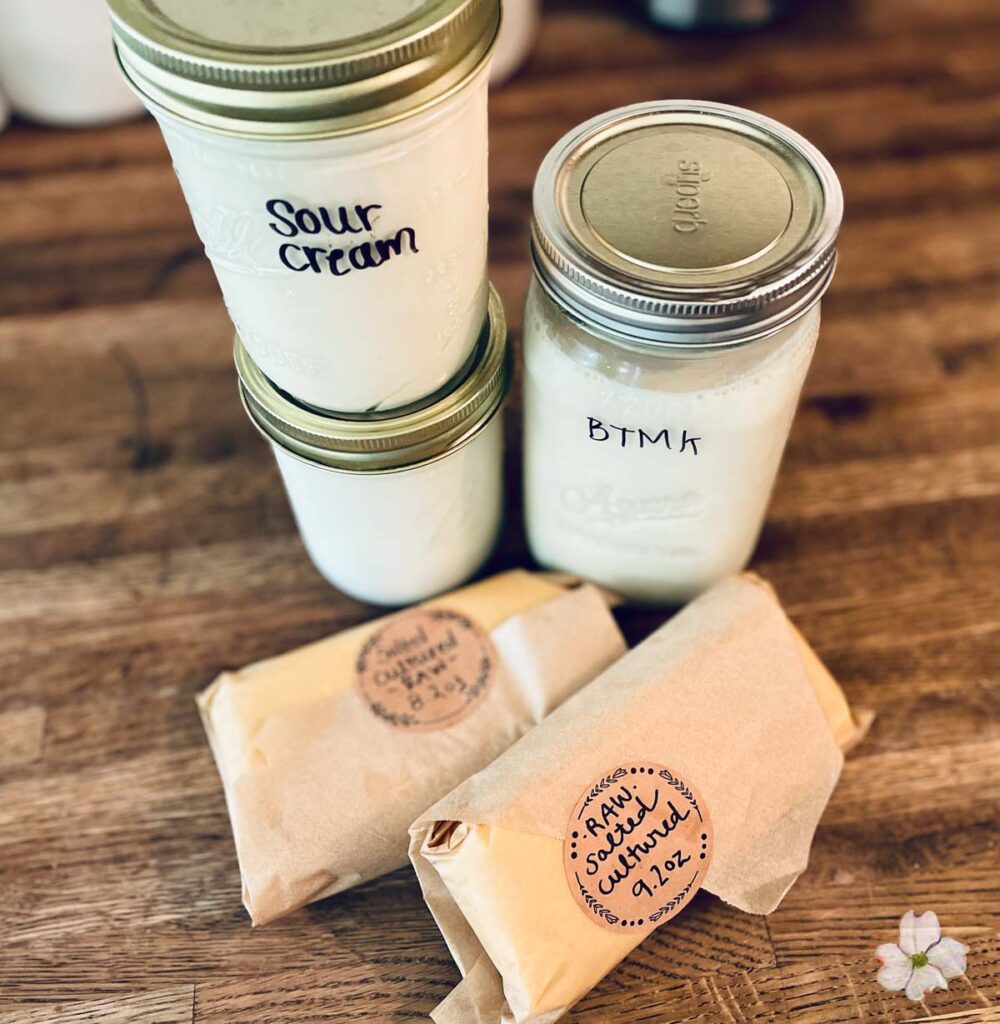
you may wonder…
Isn’t buttermilk what comes out of butter when it’s churned?
Yes.
So… is isn’t it cultured?
That depends… If the cream was cultured, then the buttermilk it renders will also be cultured. If the cream was not, AKA “sweet cream,” then the buttermilk will not be cultured, but rather more like a skim milk known as a “sweet cream buttermilk.” I know we are using all of the same words here over and over to mean all of the things… it’s like reading a Spanish genealogy.
Does that make sense, though?
as for le crème
In Europe, the motherland of cultured butter, they do not pasteurize or homogenize their cream. They treat it with respect and dignity and they reap the benefits.
If you’re wanting an authentic cultured butter, you’ll need to source a top-notch cream that has been treated like gentility and still possesses its innate qualities. That can be tricky, but some health food stores, co-ops or local dairies may have what you’re looking for, which is a raw or gently pasteurized heavy cream. Avoid “UHT” (Ultra High Temp) or “ultra-pasteurized” as the extreme heat damages the proteins and fat and can make it impossible for them to churn into butter. Non-homogenized is preferential, but not always possible to find.
procuring raw cream
If you know someone who sells raw milk, you can inquire about buying cream from them but maybe have a strong drink first to brace yourself for the response… it’s going to be pricey, if they will sell it to you at all. That cream is literally the Crème de la crème. It’s the best of the harvest of the milk, and the milk is hard enough to get! Separating the cream from the milk, either mechanically or by hand is a fragile and time-consuming process. So don’t be personally offended if you’re either sticker-shocked out of your socks or courteously declined.
We do sell our raw cream now, but we had to acquire enough cows to produce enough milk to warrant the purchase of the cream separator, so there was a good $16K invested before we ever attained that possibility. Perhaps that helps explain the reluctance of the small scale dairy farmer to offer cream… *nervous laugh mingled with tears*
If you manage to find a raw milk dealer, but they don’t sell their cream, you can always buy the milk and skim the cream from the top by hand yourself. That’s how I used to do it before we got our cream separator. For reference, it will likely take the cream from two gallons of milk to make around a pound of butter. It is time consuming, and you do have to be mindful of cleanliness, but it’s not hard. Cream skimmed by hand will have more milk left in it, which means it will take longer to churn and yield much more buttermilk. There’s nothing wrong with that though, just a side note to let you know what to expect.
is raw milk risky?
Raw milk from a healthy cow that was processed with clean equipment and adequately chilled in a timely manner is as safe as rainbows. Raw milk from sick cows, or raw milk contaminated by dirty equipment or other environmental factors or raw milk that was mismanaged can contain harmful pathogens. I would not trust raw milk from a large dairy. We have been drinking raw milk from small dairies, family farms and our own cows for years and have never encountered a problem. If you are concerned, I encourage you to explore the resources put forth by The Raw Milk Institute. This is a good article to start with.
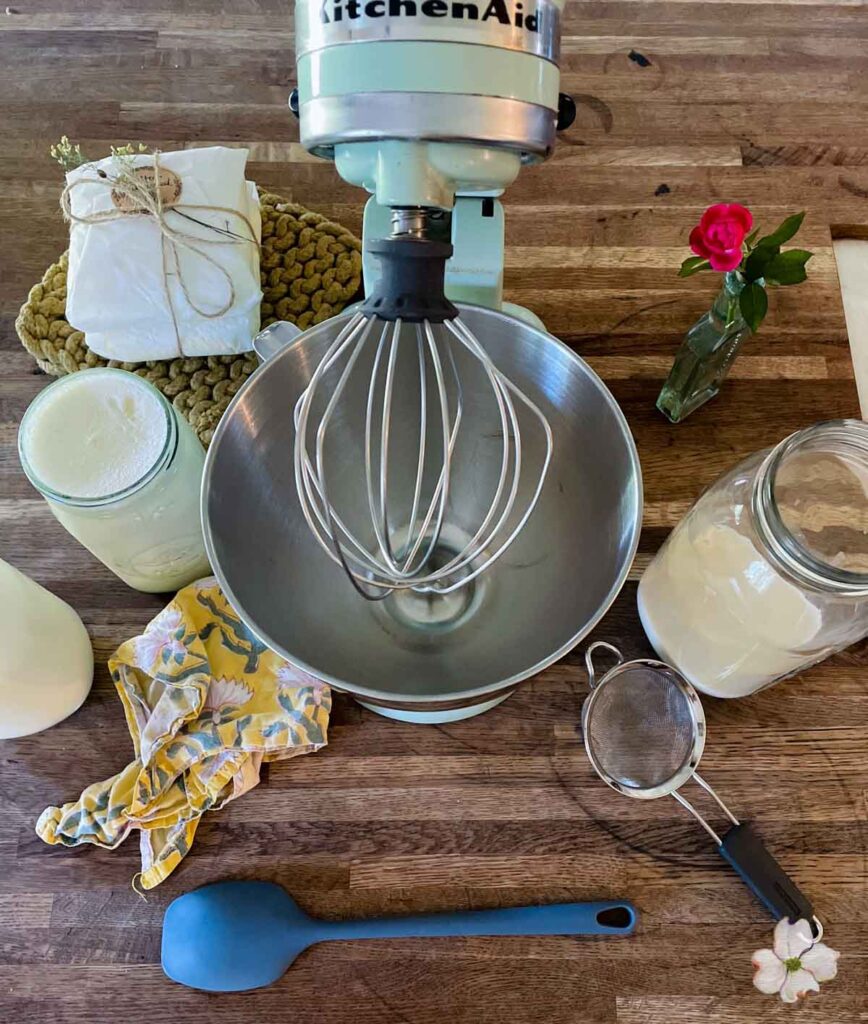
equipment you’ll need to make your own cultured butter at home
I simply use my Kitchen Aid standing mixer with the whisk attachment. The paddle attachment would probably work better but mine broke and I haven’t replaced it yet. I’m sure any mixer would do. I know it could be done by hand, but I haven’t done it that way and I don’t plan to. You do you.
I also love a good spatula for this job. I prefer one made entirely of silicone – so there are no crevices for bacteria to loiter and practice all sorts of malfeasance – when I’m working with raw dairy and cultured foods.
A stainless steel, fine, mesh strainer or sieve is nice to have, but not imperative.
I like to wrap my butter in a square of parchment paper and freeze what we don’t need immediately. Also, have paper towels on hand.
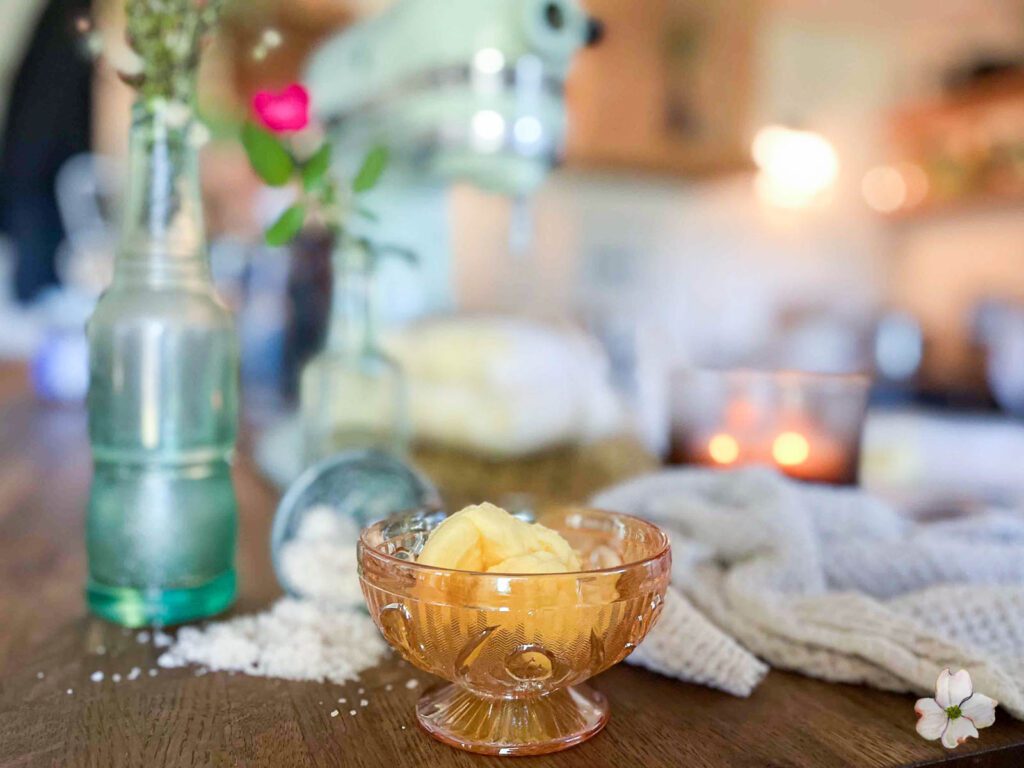
how to make your own cultured butter
- Culture the cream.
- I like to pour two or three tablespoons of my live and active buttermilk directly into the glass quart of cream and stir it well. If your cream is in anything other than a glass jar, transfer it to a glass container, jar or bowl, and stir in your live and active culture starter, be it buttermilk or yogurt or sour cream. Let it sit out at room temperature for 24 to 48 hours at 65°F to 75°F
- (If you didn’t already, read the section A Live and active culture above to be sure you’ve got the right stuff. And while you’re at it, read the section As for le crème to be sure you’ve got the right cream.)
- The cream is ready when it is noticeably thicker and has a pleasant, tangy aroma, much like a sour cream or a yogurt. If anything smells foul or offensive, throw it out!
2. Place the cultured cream into the refrigerator until it is well chilled. You’ll need it cold for it to churn properly; anywhere from 50°F to 65°F being ideal, 60°F being perfect! (It can be left in there for a day or so if you don’t have time to make the butter right away.)
3. When you’re ready to churn, “pour” the cream (it likely won’t pour, you’ll have to coax it out with the spatula I mentioned earlier) into the bowl of your mixer. Start on medium low speed and gradually increase as it whips to avoid making a mess. The cream will become whipped cream, then overly whipped and then progressively more grainy. Finally, and all of a sudden, it will begin to turn yellow as the fats bind together and the buttermilk separates from it. Immediately lower your speed to avoid sloshing and splashing when you see this begin to happen. Allow the mixer to churn until the butter is nearly one large clump spinning around in the buttermilk. Have paper towels, a sieve and a square of parchment paper handy.
4. Coax all the butter off the whisk or paddle or beaters back into its mixing bowl. Pour the buttermilk off (through the sieve) into a jar. Congratulation, you are the proud owner of your own homemade cultured buttermilk!
5. Give the butter a rinse with cold tap water. Rinse and pour off the murky water until it’s looking fairly clear.
6. Add enough water to the bowl to cover the butter and add a few ice cubes to keep the water cool as you work. Massage the butter in the water to work out the last of the buttermilk. It’s important to have as little buttermilk left in the butter as possible so that it does not sour on you later on.
7. Finally remove the butterball from the water and massage it like a dough, working all the tiny water droplets out of the mass. Your goal is to end up with a pure butterball of fat, no liquid. Dabbing it with a paper towel or pressing the butterball down onto on a paper towel laid on the countertop is helpful. You do need to work somewhat quickly before the butter begins to melt due to the warmth of your hands and/or ambient temperature.
8. Add salt if desired, ½ to one teaspoon per pound of butter is what I like. Work it in until it’s evenly distributed.
9. When the butter is as clean and dry as you can manage, ball it up and drop it onto a square of parchment paper. Shape it into a block as best you can and wrap it up. I have become more proficient and graceful at this task with practice, but I am convinced it’s just a messy job and there’s not much you can do about it! The name “butterfingers” came to be for a reason!
10. You can use your beautifully cultured butter starting immediately or you can refrigerate it and use it little by little for quite some time, at least two weeks. You can freeze it almost indefinitely. If you go through butter slowly, it may be a good idea to wrap two separate blocks, one for now and one for the freezer.
Notes:
- A typical heavy whipping cream is going to be around 36% to 38% fat and likely yield just shy of a pound, maybe 14 ounces. That’s still almost four sticks of butter, so you could still easily divide it into portions that suit you and your cooking plans. I use lots and lots of butter, so I just wrap it in 1lb portions, but if you wanted to save it in sticks individually, silicone molds might be the trick.
- You can easily dress up a block of butter with a round sticker label,a bit of twine and a sprig of herbs or holly etc. for a perfect gift!
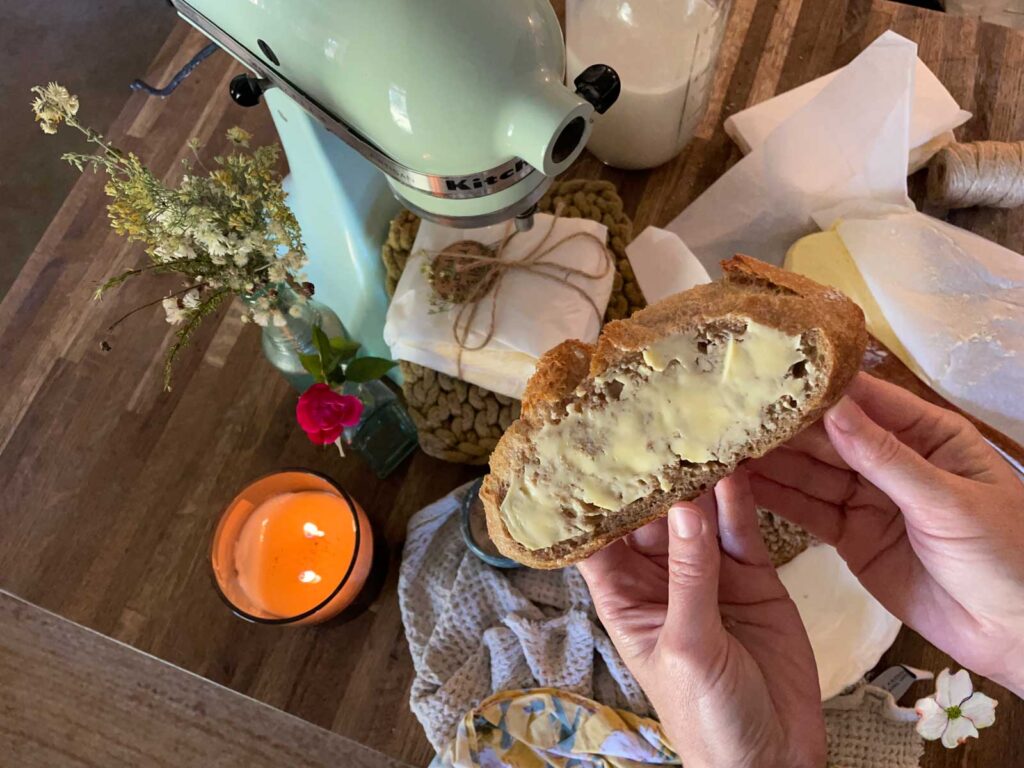
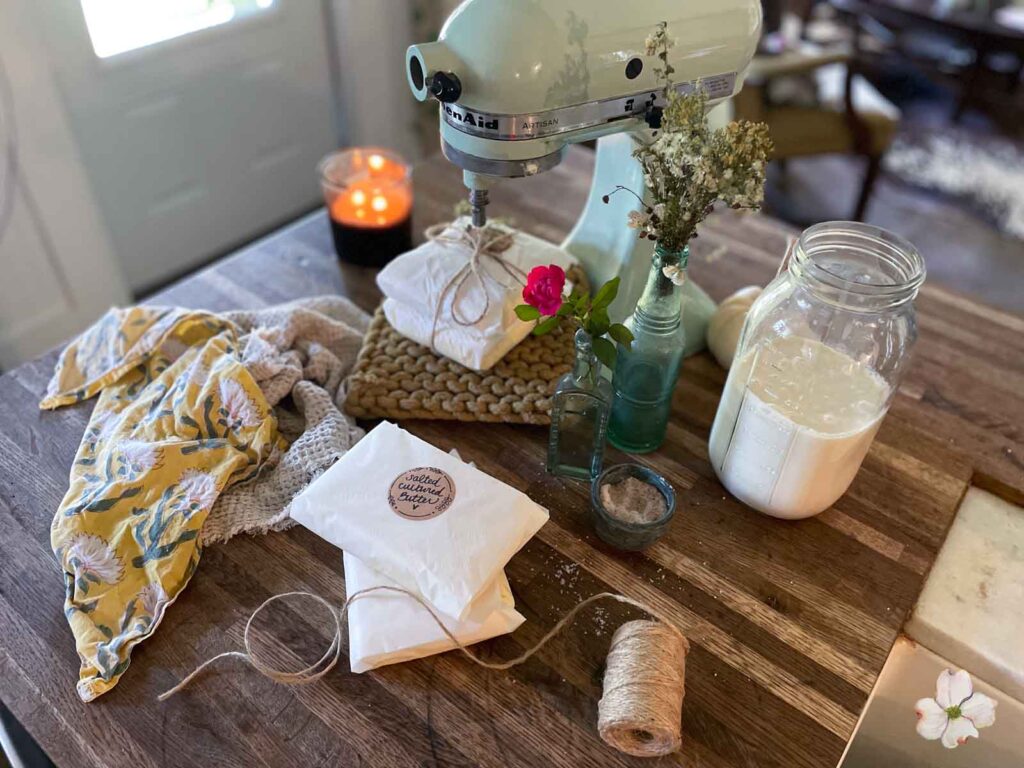
if this all sounds like more than you bargained for and you’d just like to know where to buy a good quality cultured butter, say less
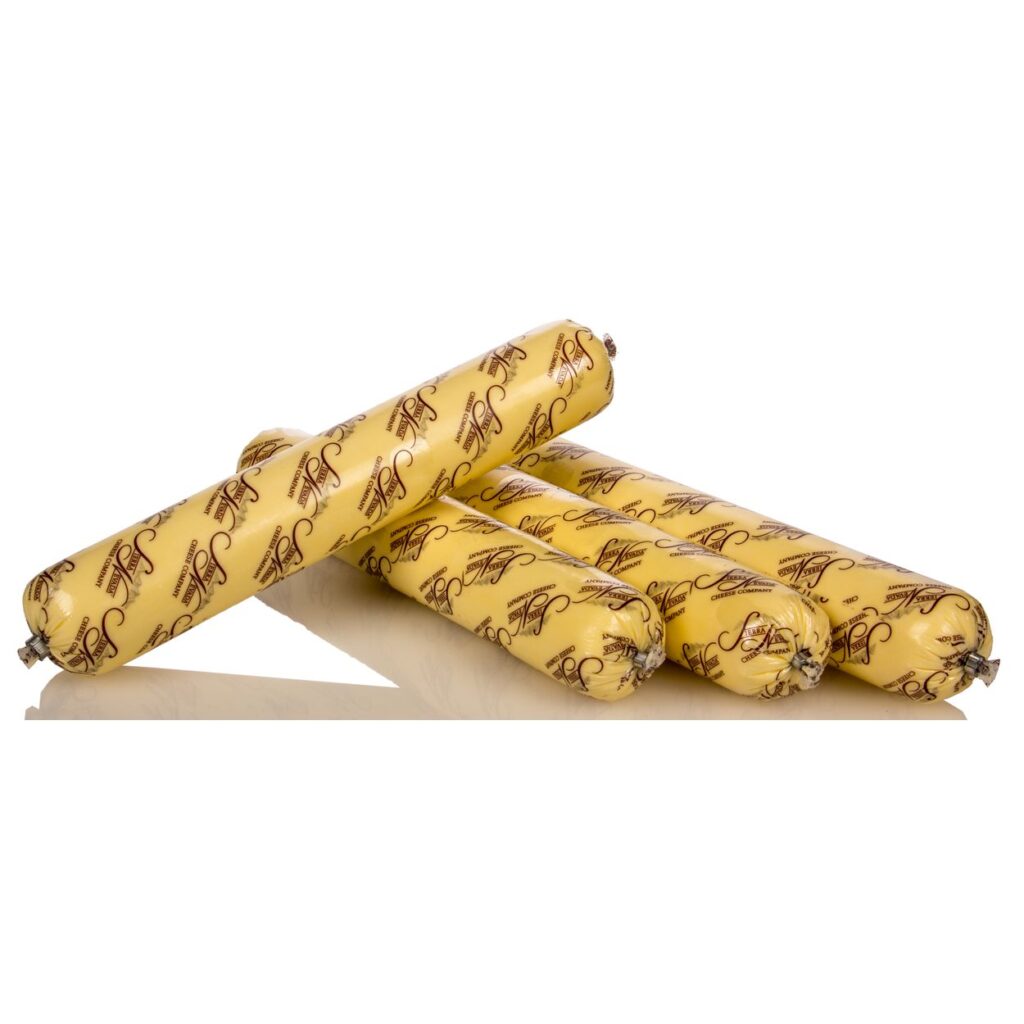
Azure Standard is a great option for sourcing a high quality cultured butter. Most are organic and grass fed as well, and to be honest, they may be cheaper per pound than you can recreate by buying a comparable quality cream.
I still think making your own cultured butter at home, like many things, is worth doing a few times to appreciate the process and the product, but otherwise, Azure Standard is a great go-to! Here are a few of their cultured butter options :
- Graziers, Vat-Cultured European Style Butter, Salted, Grass-Fed
- European Butter, Salted, Organic, Vat-Cultured
- Vat-Cultured European Butter Salted, Organic
- Ghee Cultured, Grass-Fed, Organic
Not an Azure Standard member?
What is it?
It’s not a weird cult.
It’s a way of grocery shopping that feels like a scavenger hunt and Christmas morning mixed together. It’s somewhat inconvenient, comes with a mixed bag of new friends and access to a lot of really great products. No fees. Just a company that skips the grocery store and gets food directly from farmers and producers to customers, batched by location, all the way from Oregon!
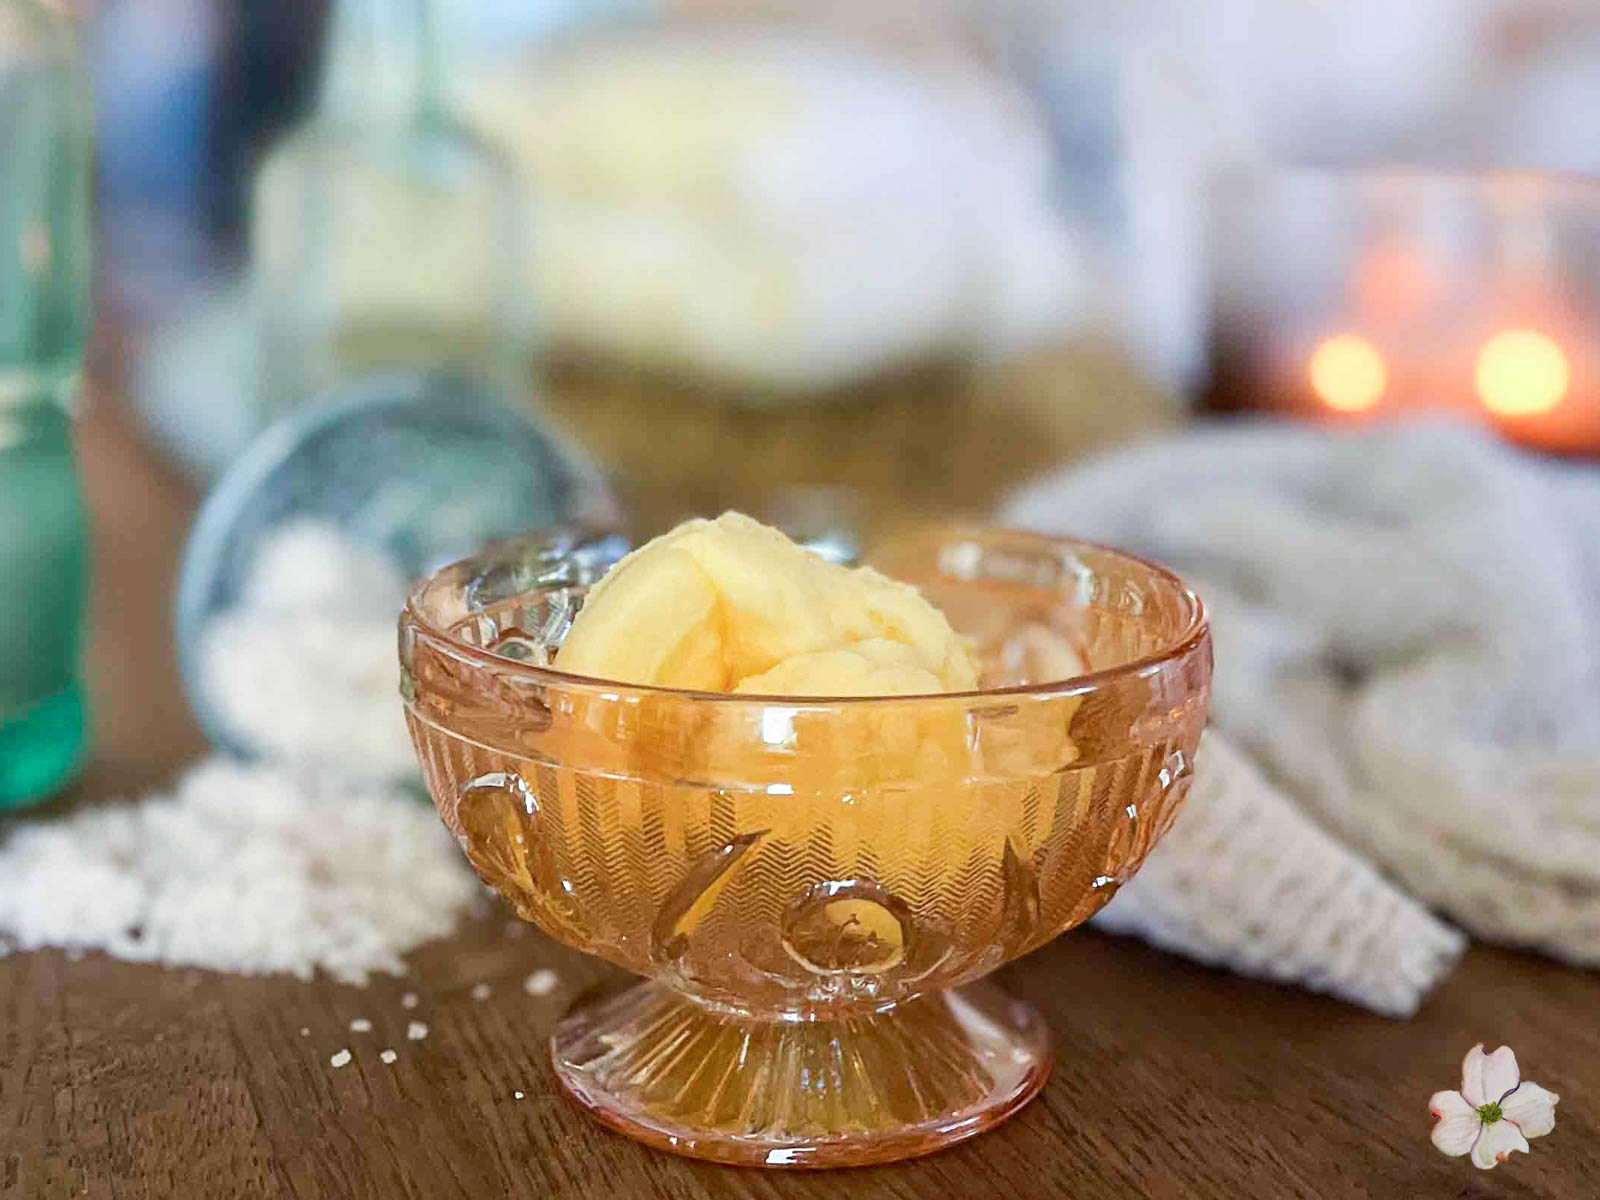

Cultured Butter
Ingredients
Method
- Culture the cream. I like to pour two or three tablespoons of live and active buttermilk directly into the glass quart of cream and stir it well. If your cream is in anything other than a glass jar, transfer it to a glass container, jar or bowl, and stir in your live and active culture starter, be it buttermilk or yogurt or sour cream. Let it sit out at room temperature for 24 to 48 hours at 65°F to 75°F (Refer to section the section "A Live and active culture" in the post to be sure you’ve got the right stuff. And while you’re at it, read the section "As for le crème" to be sure you’ve got the right cream.)
- The cream is ready when it is noticeably thicker and has a pleasant, tangy aroma, much like a sour cream or a yogurt. If anything smells foul or offensive, something has gone wrong, throw it out! (Though this has never happened to me.)
- Place the cultured cream into the refrigerator until it is well chilled. You’ll need it cold for it to churn properly; anywhere from 50°F to 65°F being ideal, 60°F being perfect! (It can be left in there for a day or so if you don’t have time to make the butter right away.)
- When you’re ready to churn, “pour” the cream (it likely won’t pour, you’ll have to coax it out with the spatula I mentioned earlier) into the bowl of your mixer. Start on medium low speed and gradually increase as it whips to avoid making a mess. The cream will become whipped cream, then overly whipped and then progressively more grainy. Finally, and all of a sudden, it will begin to turn yellow as the fats bind together and the buttermilk separates from it. Immediately lower your speed to avoid sloshing and splashing when you see this begin to happen. Allow the mixer to churn until the butter is nearly one large clump spinning around in the buttermilk. Have paper towels, a sieve and a square of parchment paper handy.
- Coax all the butter off the whisk or paddle or beaters back into its mixing bowl. Pour the buttermilk off (through the sieve) into a jar. Congratulation, you are the proud owner of your own homemade cultured buttermilk!
- Give the butter a rinse with cold tap water. Rinse and pour off the murky water until it’s looking fairly clear.
- Add enough water to the bowl to cover the butter and add a few ice cubes to keep the water cool as you work. Massage the butter in the water to work out the last of the buttermilk. It’s important to have as little buttermilk left in the butter as possible so that it does not sour on you later on.
- Finally remove the butterball from the water and massage it like a dough, working all the tiny water droplets out of the mass. Your goal is to end up with a pure butterball of fat, no liquid. Dabbing it with a paper towel or pressing the butterball down onto on a paper towel laid on the countertop is helpful. You do need to work somewhat quickly before the butter begins to melt due to the warmth of your hands and/or ambient temperature.
- Add salt if desired, ½ to one teaspoon per pound of butter is what I like. Work it in until it’s evenly distributed.
- When the butter is as clean and dry as you can manage, ball it up and drop it onto a square of parchment paper. Shape it into a block as best you can and wrap it up. I have become more proficient and graceful at this task with practice, but I am convinced it’s just a messy job and there’s not much you can do about it! The name “butterfingers” came to be for a reason!
- You can use your beautifully cultured butter starting immediately or you can refrigerate it and use it little by little for quite some time, at least two weeks. You can freeze it almost indefinitely. If you go through butter slowly, it may be a good idea to wrap two separate blocks, one for now and one for the freezer.
Leave a Reply
You must be logged in to post a comment.