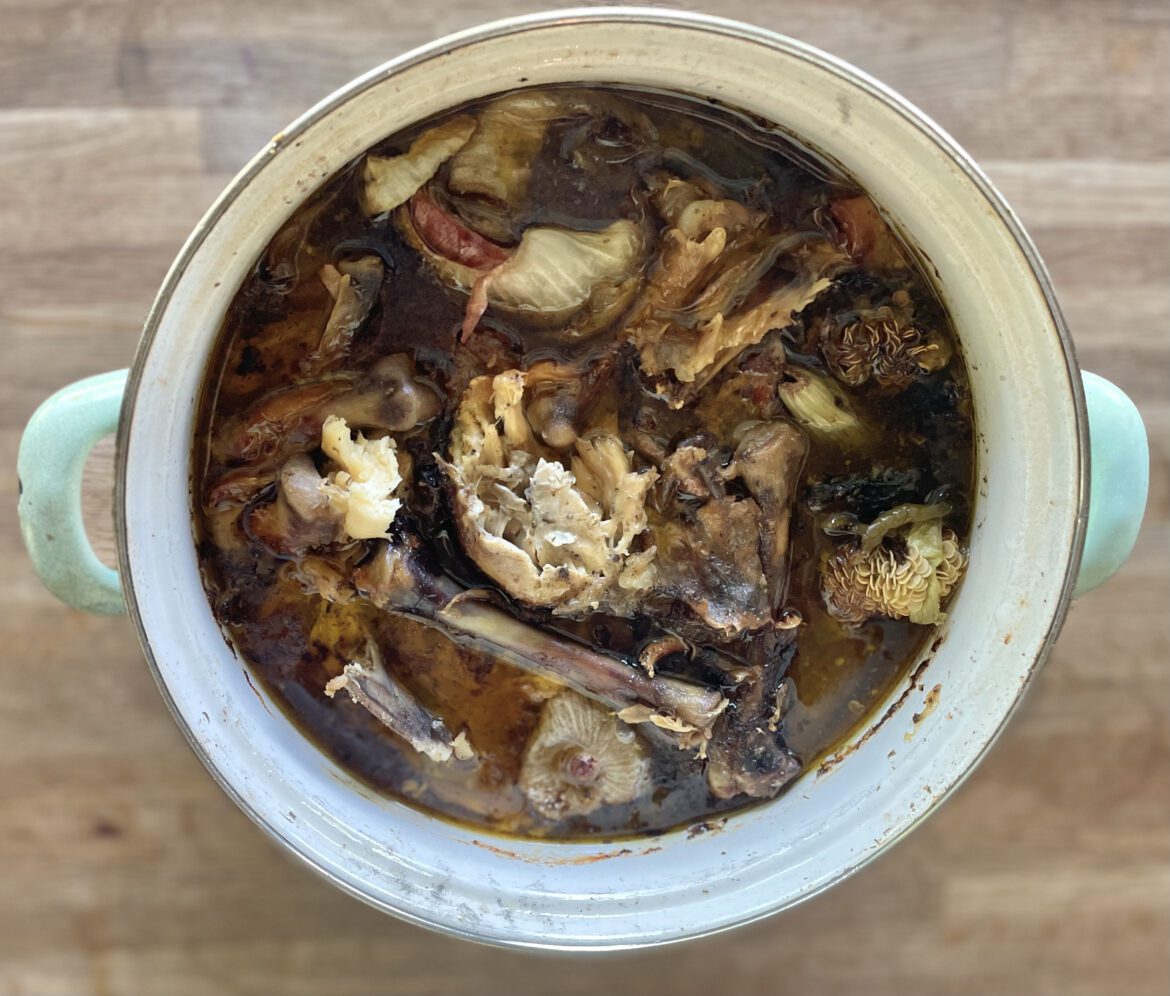
It’s hard for me to convey to you in mere words the deep satisfaction I get from rendering a pot of rich, golden, bone broth. I sleep better at night knowing it’s in the fridge.
When bone-in meat cooks, much of the flavor and nutrition of the marrow is cooked into the meat, especially when it’s allowed to cook slowly. But there is gold untold yet in those bones!

Nourishing
The properties in the bones, skin, cartilage and connective tissues of animal proteins are the same ones found in collagen supplements, and they’re the same building blocks our own tissues require to maintain themselves. They are vital for our skin, hair, nails and the lining of the digestive tract. It’s also a source of protein and is full of lysine, which helps fight viruses, validating the inherent urge to feed chicken soup to sick children.
Flavorful
But it isn’t ALL about nutritional value, this stuff is delicious! Bone broth deepens and enriches the flavor of whatever it’s used in. It’s the best foundation for soups and stews and the perfect enhancer of sauces and vegetables. It’s also the most secret way to nourish picky toddlers: simply use it in place of water for the rice and pasta that they will eat!
Thrifty
Every time we cook bone-in meat, be it ribs, steaks, lamb chops, roasted chicken or anything else, I just keep the scraps. When I have a decent collection stored up, it’s time to simmer down!

One of the biggest perks of daily, consistent home cooking from scratch is that you sort of stumble into luxurious by-products.
Obviously bone broth falls in this category, but even the broth gives dividends …
There is a layer of fat that hardens on top of the broth once it cools. It can be used as an ultra-flavorful fat medium with a high smoke point, perfect for searing and sautéing.
Ideally I’d keep all the fats separately and cook with them categorically; beef in beef fat, also called “tallow”, chicken in chicken fat, known as “schmaltz” and lamb in lamb fat, “tallow” as well. Pork fat, “lard,” is great too, as everyone knows. It gives that bacon wrapped/slamming screen door/Grandma’s hand cream/cast iron sink sort of flavor.
And any of these would elevate sautéed vegetables, or a pot of rice, beans… food, basically.
How amazing is that though?!
You cook an animal, a whole chicken roasted in the oven for example, and you have a nice dinner. That night you pick the leftover meat and put it in the fridge, while the bones, tidbits, odds and ends, etc. go in a pot to simmer gently overnight. By tomorrow afternoon, you’ve got the versatile shredded chicken, a deeply concentrated jar of broth, and a bit of schmaltz. The possibility of your subsequent meal outshining the original roasted chicken is very real.
Your dog said he wants those soft boiled bones.
“Waste not, want not,” he said.
Methodology

Simmer Down
BONES IN WATER: Once you have a little collection of bones and tidbits, vegetable scraps are invited too, put them in a pot (or your crock pot/magic pot) and fill it with water until it covers the contents. Much of the water will evaporate if it cooks for a long time uncovered, so make sure you budget for that.
SALT: I like to use a mineral rich salt. Redmond’s salt, which I have on hand in huge bags for livestock anyway, is pretty neat. It’s an unrefined sea salt mined from an ancient seabed in Utah, where it’s pure and full of trace minerals.
ACID: The acid from a shot of apple cider vinegar helps to further extract nutrients and minerals.
SPICES: Throw in a few peppercorns and bay leaves. Personally, I like to keep the broth otherwise “neutral” so that I can use it for whatever comes up and season more specifically when needed.
SIMMER: Typically, my collection of bones etc. have already been cooked, so really just a few hours would be sufficient for a great product, but there’s nothing wrong with letting it go overnight, either.
If I start my pot after dinner clean up, say around 9 p.m., and then turn it off when I’m in the kitchen the next morning, around 7 a.m., that’s usually perfect. By the time the morning chores are done and I get around to straining it, it’s had time to cool off so I’m not struggling with scalding hot liquid.
Why do you keep saying “simmer” and “gentle” like a we’re dealing with a bomb in a library?
So, turns out, you can “boil” a bone broth, but, it’s gonna be greasy and cloudy. And that’s just… not nice. A gently simmered (I too am growing tired of those words… a delicately stewed?) broth will result in a clean, clear product which remains separate from the fats. The fat will politely accumulate on the surface where it can be cleanly extracted for use or disposal. A temperature of 75°F to 200°F or around 80°C to 90°C is sufficient.
STRAIN: A big sturdy mixing bowl with a sieve set in it will do the trick. Carefully pour all of the broth contents through the sieve and into the bowl. Strain them, dump the hound treats back in the pot, and you’re golden. Pour the clean, clear broth into mason jars if you plan to refrigerate for use sometime this week, or pour into silicon freezer molds (or a good old fashioned zip lock bag) to freeze for later.


Keeping the broth in mason jars has one added benefit, by the way. Say you need three cups of broth for a pot of rice; just note on the side of the jar how many cups you have. Simply pour into your pot until you’re less three cups. No need to dirty a measuring cup, or needing three hands when we’ve only been given two.
Isn’t it beautiful?!

Homemade Bone Broth
Ingredients
- 2-6 cups of leftover bones skin, cartilage, etc.
- optional vegetable scraps
- 1-2 Tbsp salt
- 1-3 Tbsp Vinegar I like an apple cider vinegar
- Water just enough to cover the contents of your pot
- Peppercorns or a ground black pepper
- A few bay leaves
Instructions
- Add all ingredients to a stock pot or a crock pot.
- Simmer on low for as long as your schedule allows, 6-12 hours is ideal for already cooked bones, raw bones can cook much longer, even 24 hours. Broth should not come to a full boil, but just barely a simmer: 75°F to 200°F or 80°C to 90°C is sufficient.
- After simmering, when the broth has cooled a bit, set a large bowl (preferably one with a pour spout such as a very large measuring container) in your sink and rest a strainer/sieve inside of it. Pour the broth through the strainer and into the bowl.
- Remove the sieve and it’s contents.
- Pour broth into containers, I prefer half gallon glass jars. When it has cooled to ‘warm to the touch’ place it in the refrigerator and use within the next week. Alternatively, store in silicone cube trays or zip lock bags and freeze for future use.
Leave a Reply
You must be logged in to post a comment.